Topic Models in R

5 Dec 2018, 9-12:30 | Oriental Room S204, University of Sydney
Getting started
R and RStudio
In order to replicate the code used in this tutorial on your computer, you need to install R and RStudio (they are both open source and free). You can download the version for your computer here:
Once you have installed R and RStudio, you need to open RStudio. RStudio looks more or less like this:
Dowload the workshop archive
You can download the archive of the workshop by clicking
here.
Move the ws-201812-master.zip archive somewhere on your computer (like
on your desktop) and open it. You should now have a folder containing a
number of files and folders:
##  [1] "_config.yml"           "assets"
##  [3] "data"                  "ex2.R"
##  [5] "footer.css"            "getting_started.md"
##  [7] "getting_started.Rmd"   "img"
##  [9] "libs"                  "LICENSE"
## [11] "README.md"             "script"
## [13] "slides_cache"          "slides_files"
## [15] "slides_original_files" "slides_original.html"
## [17] "slides_original.Rmd"   "slides.html"
## [19] "slides.Rmd"            "welcome-page.md"
## [21] "ws-201812.Rproj"
Double-click on the file ws-201812.Rproj; it should open in RStudio.
If this doesn’t work, go to RStudio, and “File” → “Open project…” and
open ws-201812.Rproj.
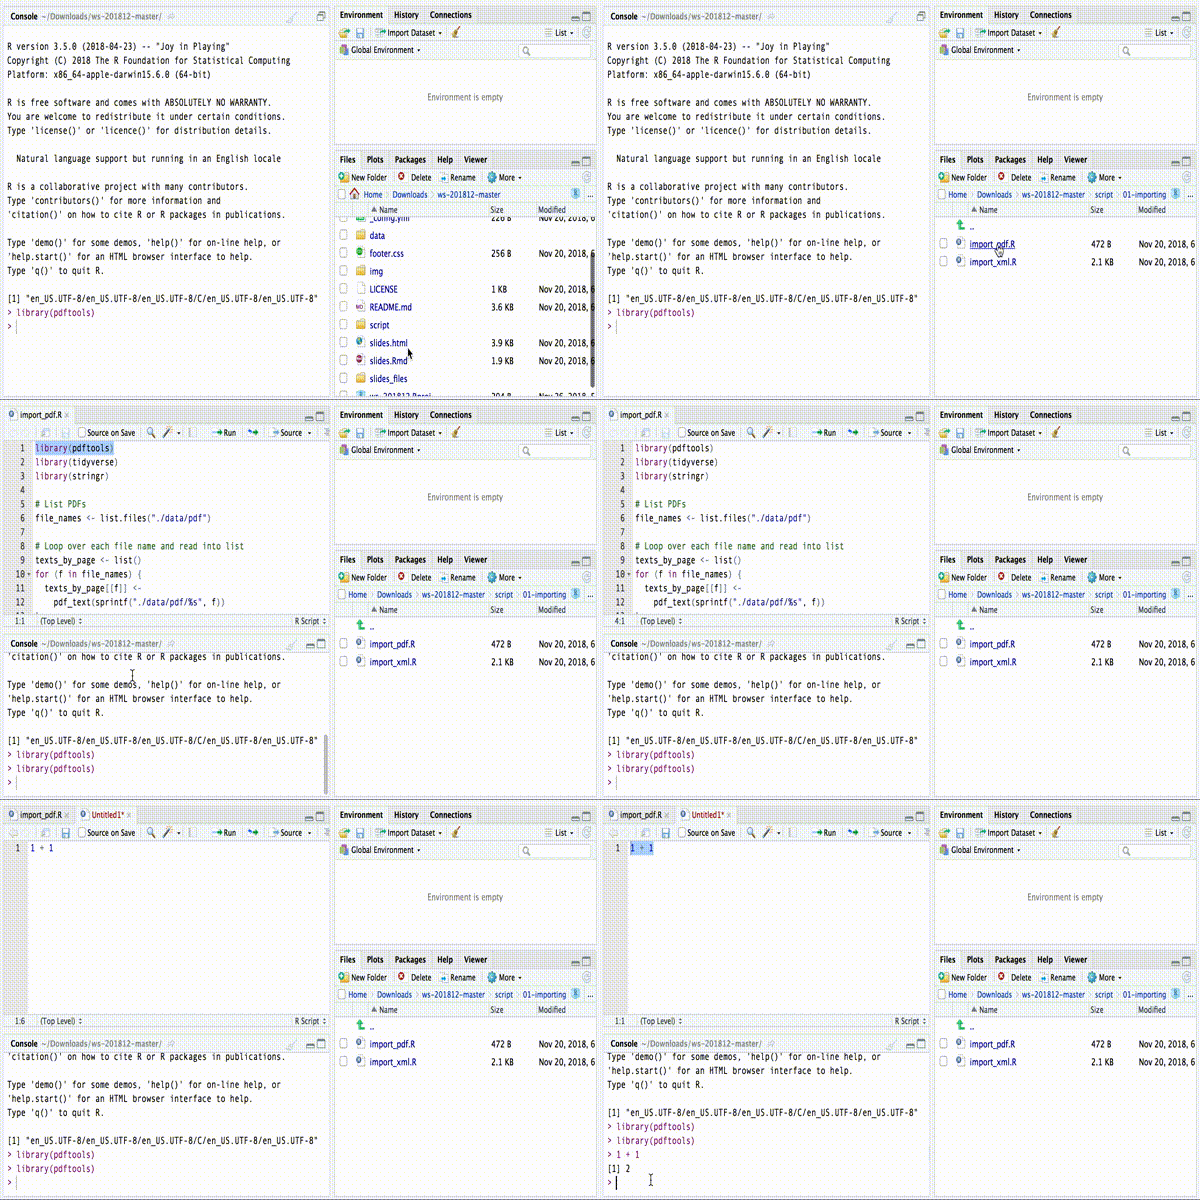
RStudio interface
If you haven’t changed the order of the different regions, you should
see the different FILES of the project in your “bottom-right
region”. In the same region, there are other windows (e.g. PLOTS
and HELP) you can navigate by clicking on the corresponding tab. In
the the window FILES you can access all the code files in the folder
script.
When you open a code file (that is, every file with .R as extension),
the text file containing the R CODE appears in the top-left
region.
To execute a part of the code you can simply highlight the corresponding text and click on “Run” button, at the top of the CODE region.

Packages you need to install
In this workshop we will use a number of packages. Make sure that you have all the packages installed before attending the worksops by running these two chunks of code:
ws_packages <-
  c('stm', 'tidyverse', 'tidytext', 'tidytext',
    'xml2', 'pdftools', 'stringr',
    'gutenbergr', 'jsonlite', 'tsne')
install.packages(ws_packages)
To run the code, just copy-paste the code into your RStudio CONSOLE and hit the Return/Enter Key.
Finally to test that all packages load correctly run this (and checks if
return only a list of TRUEs):
lapply(ws_packages, require, character.only = TRUE)
## Loading required package: stm

## stm v1.3.3 (2018-1-26) successfully loaded. See ?stm for help.
##  Papers, resources, and other materials at structuraltopicmodel.com

## Loading required package: tidyverse

## ── Attaching packages ──────────────────────────────────────────────────────── tidyverse 1.2.1 ──

## ✔ ggplot2 3.0.0     ✔ purrr   0.2.5
## ✔ tibble  1.4.2     ✔ dplyr   0.7.6
## ✔ tidyr   0.8.1     ✔ stringr 1.3.1
## ✔ readr   1.1.1     ✔ forcats 0.3.0

## Warning: package 'dplyr' was built under R version 3.5.1

## ── Conflicts ─────────────────────────────────────────────────────────── tidyverse_conflicts() ──
## ✖ dplyr::filter() masks stats::filter()
## ✖ dplyr::lag()    masks stats::lag()

## Loading required package: tidytext

## Loading required package: xml2

## Loading required package: pdftools

## Loading required package: gutenbergr

## Loading required package: jsonlite

##
## Attaching package: 'jsonlite'

## The following object is masked from 'package:purrr':
##
##     flatten

## Loading required package: tsne

## [[1]]
## [1] TRUE
##
## [[2]]
## [1] TRUE
##
## [[3]]
## [1] TRUE
##
## [[4]]
## [1] TRUE
##
## [[5]]
## [1] TRUE
##
## [[6]]
## [1] TRUE
##
## [[7]]
## [1] TRUE
##
## [[8]]
## [1] TRUE
##
## [[9]]
## [1] TRUE
##
## [[10]]
## [1] TRUE
